DigitalOcean offers a simple and cost-effective way to run applications in the cloud thanks to its Droplets - virtual machines that can be set up in minutes. In this guide we will setup a DigitalOcean Droplet and strengthen its security so you can safely run IronClaw and expose it to the internet.
Do not feel like setting up your own infrastructure? You can install IronClaw with a few clicks on agent.near.ai

Create a Droplet

Register on DigitalOcean and navigate to the Droplets section to create a new Droplet. droplets landing page I recommend choosing Ubuntu as the operating system - particularly the latest LTS version - and the 
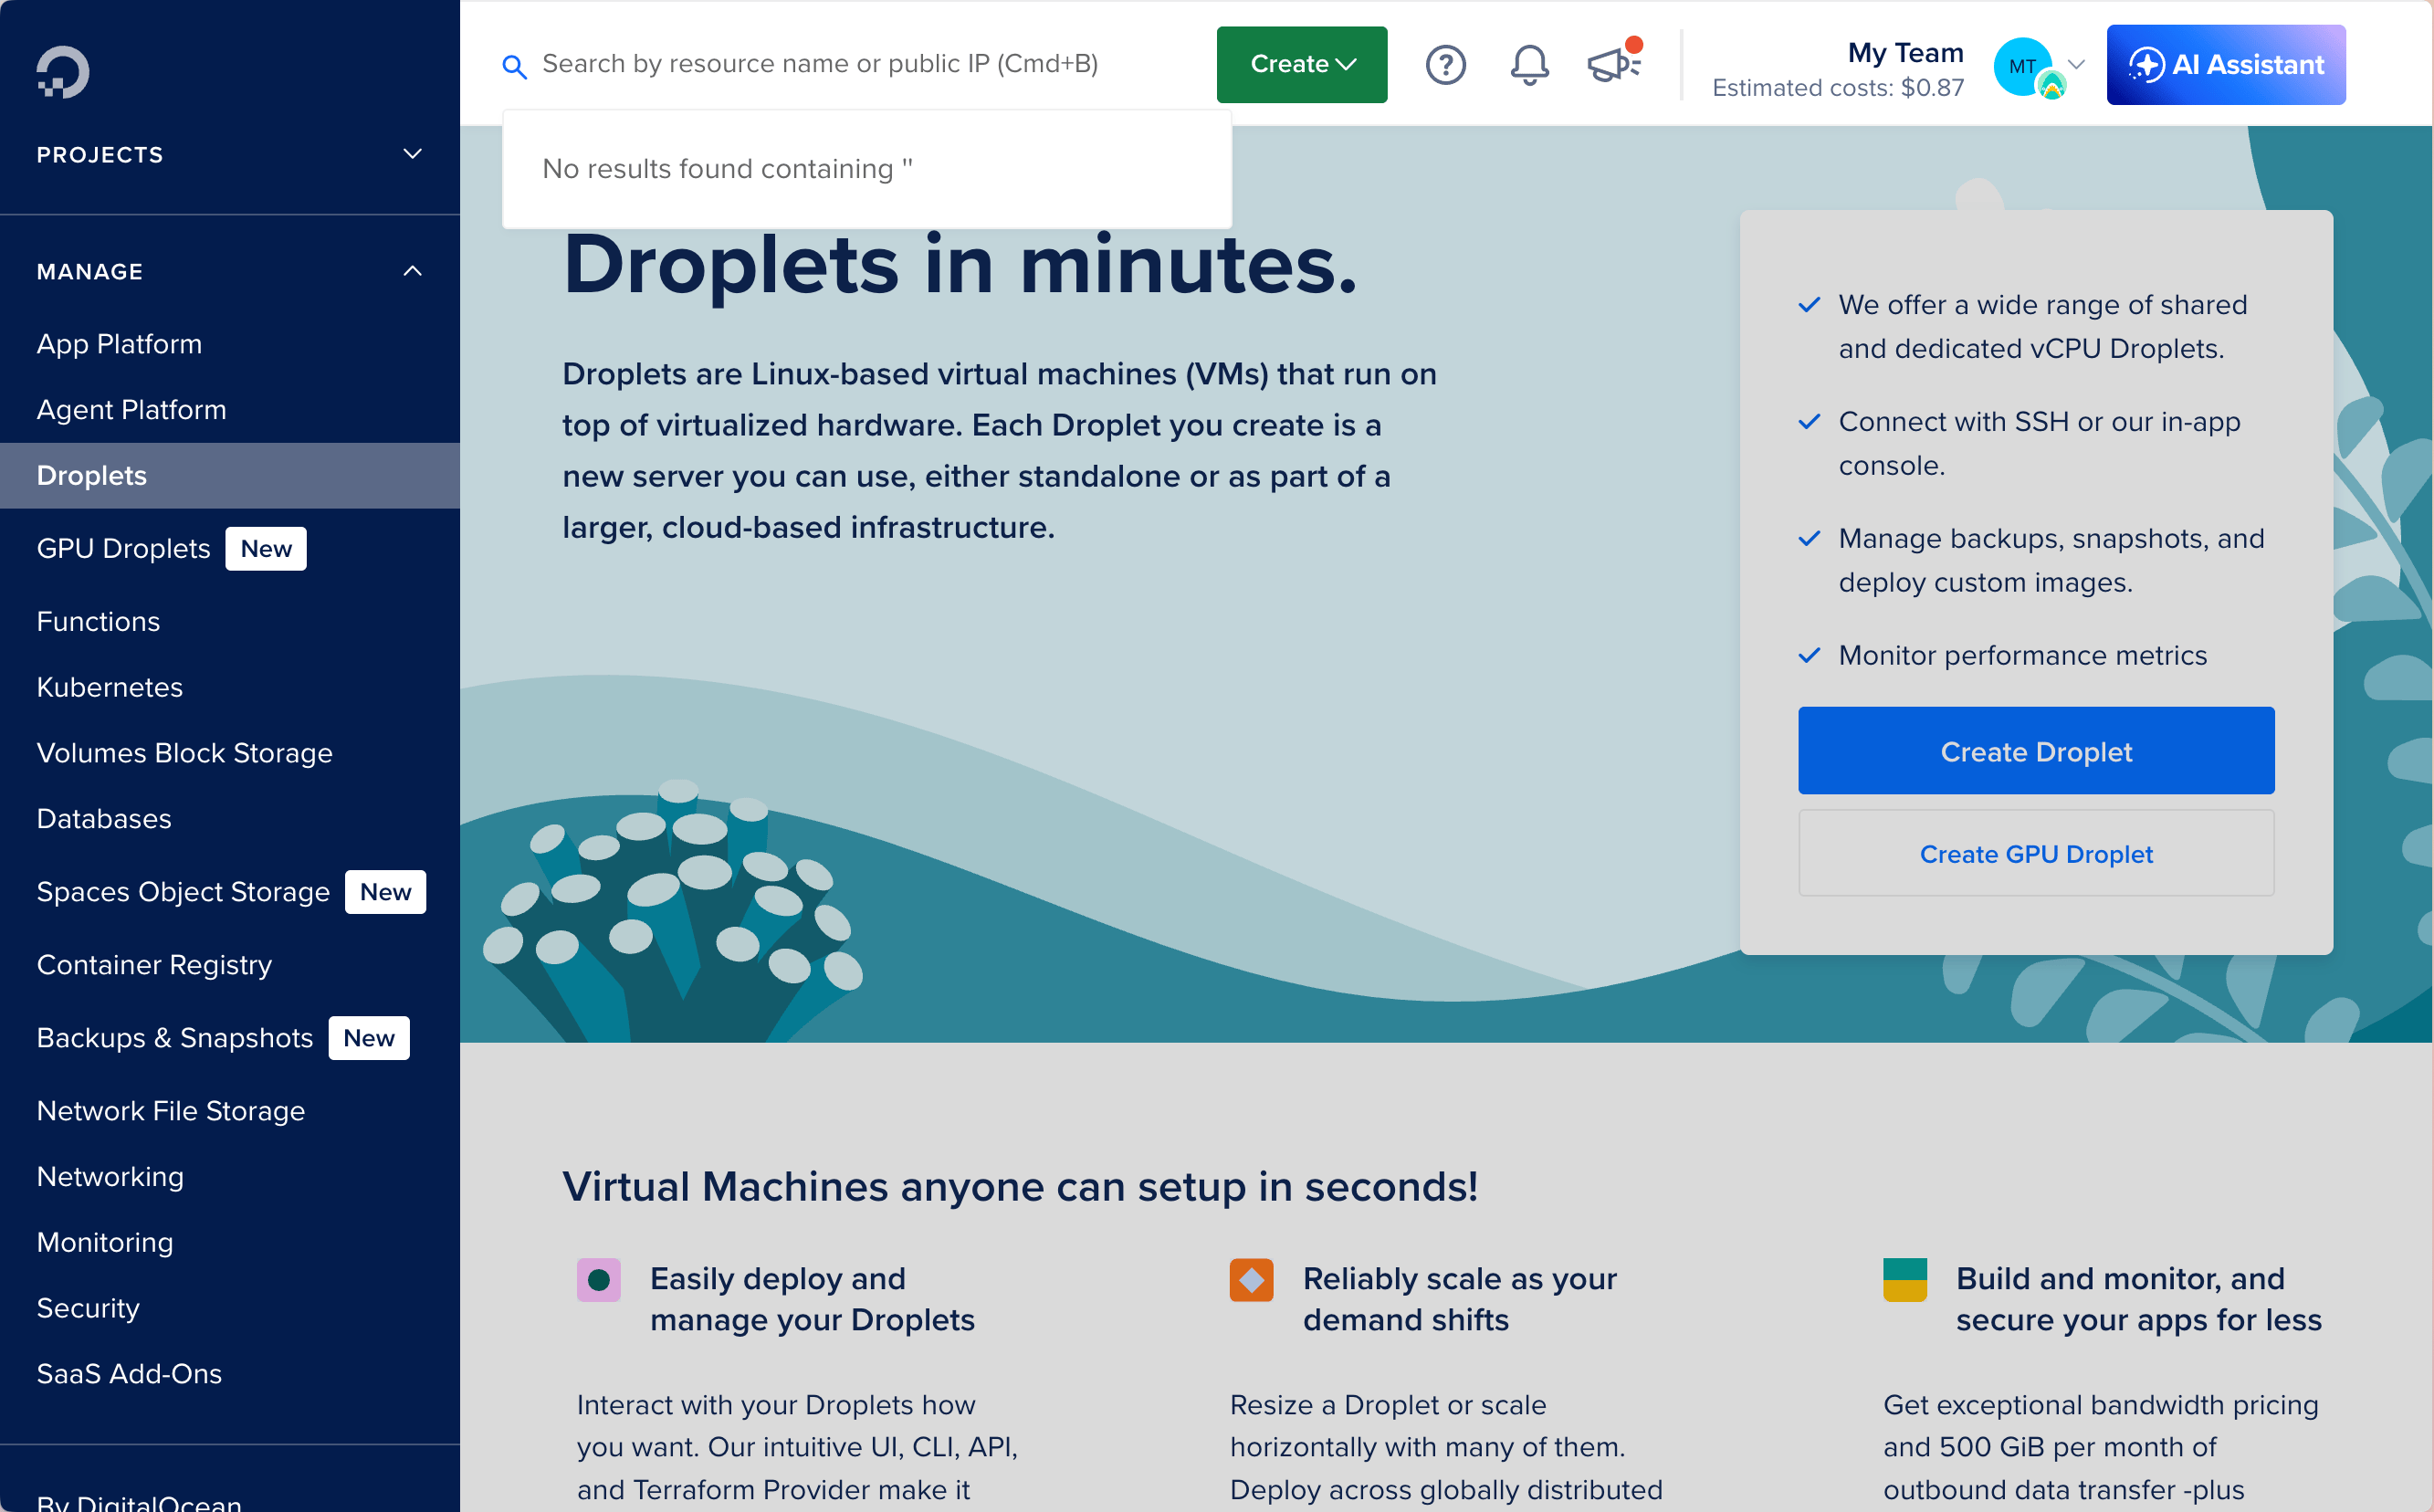
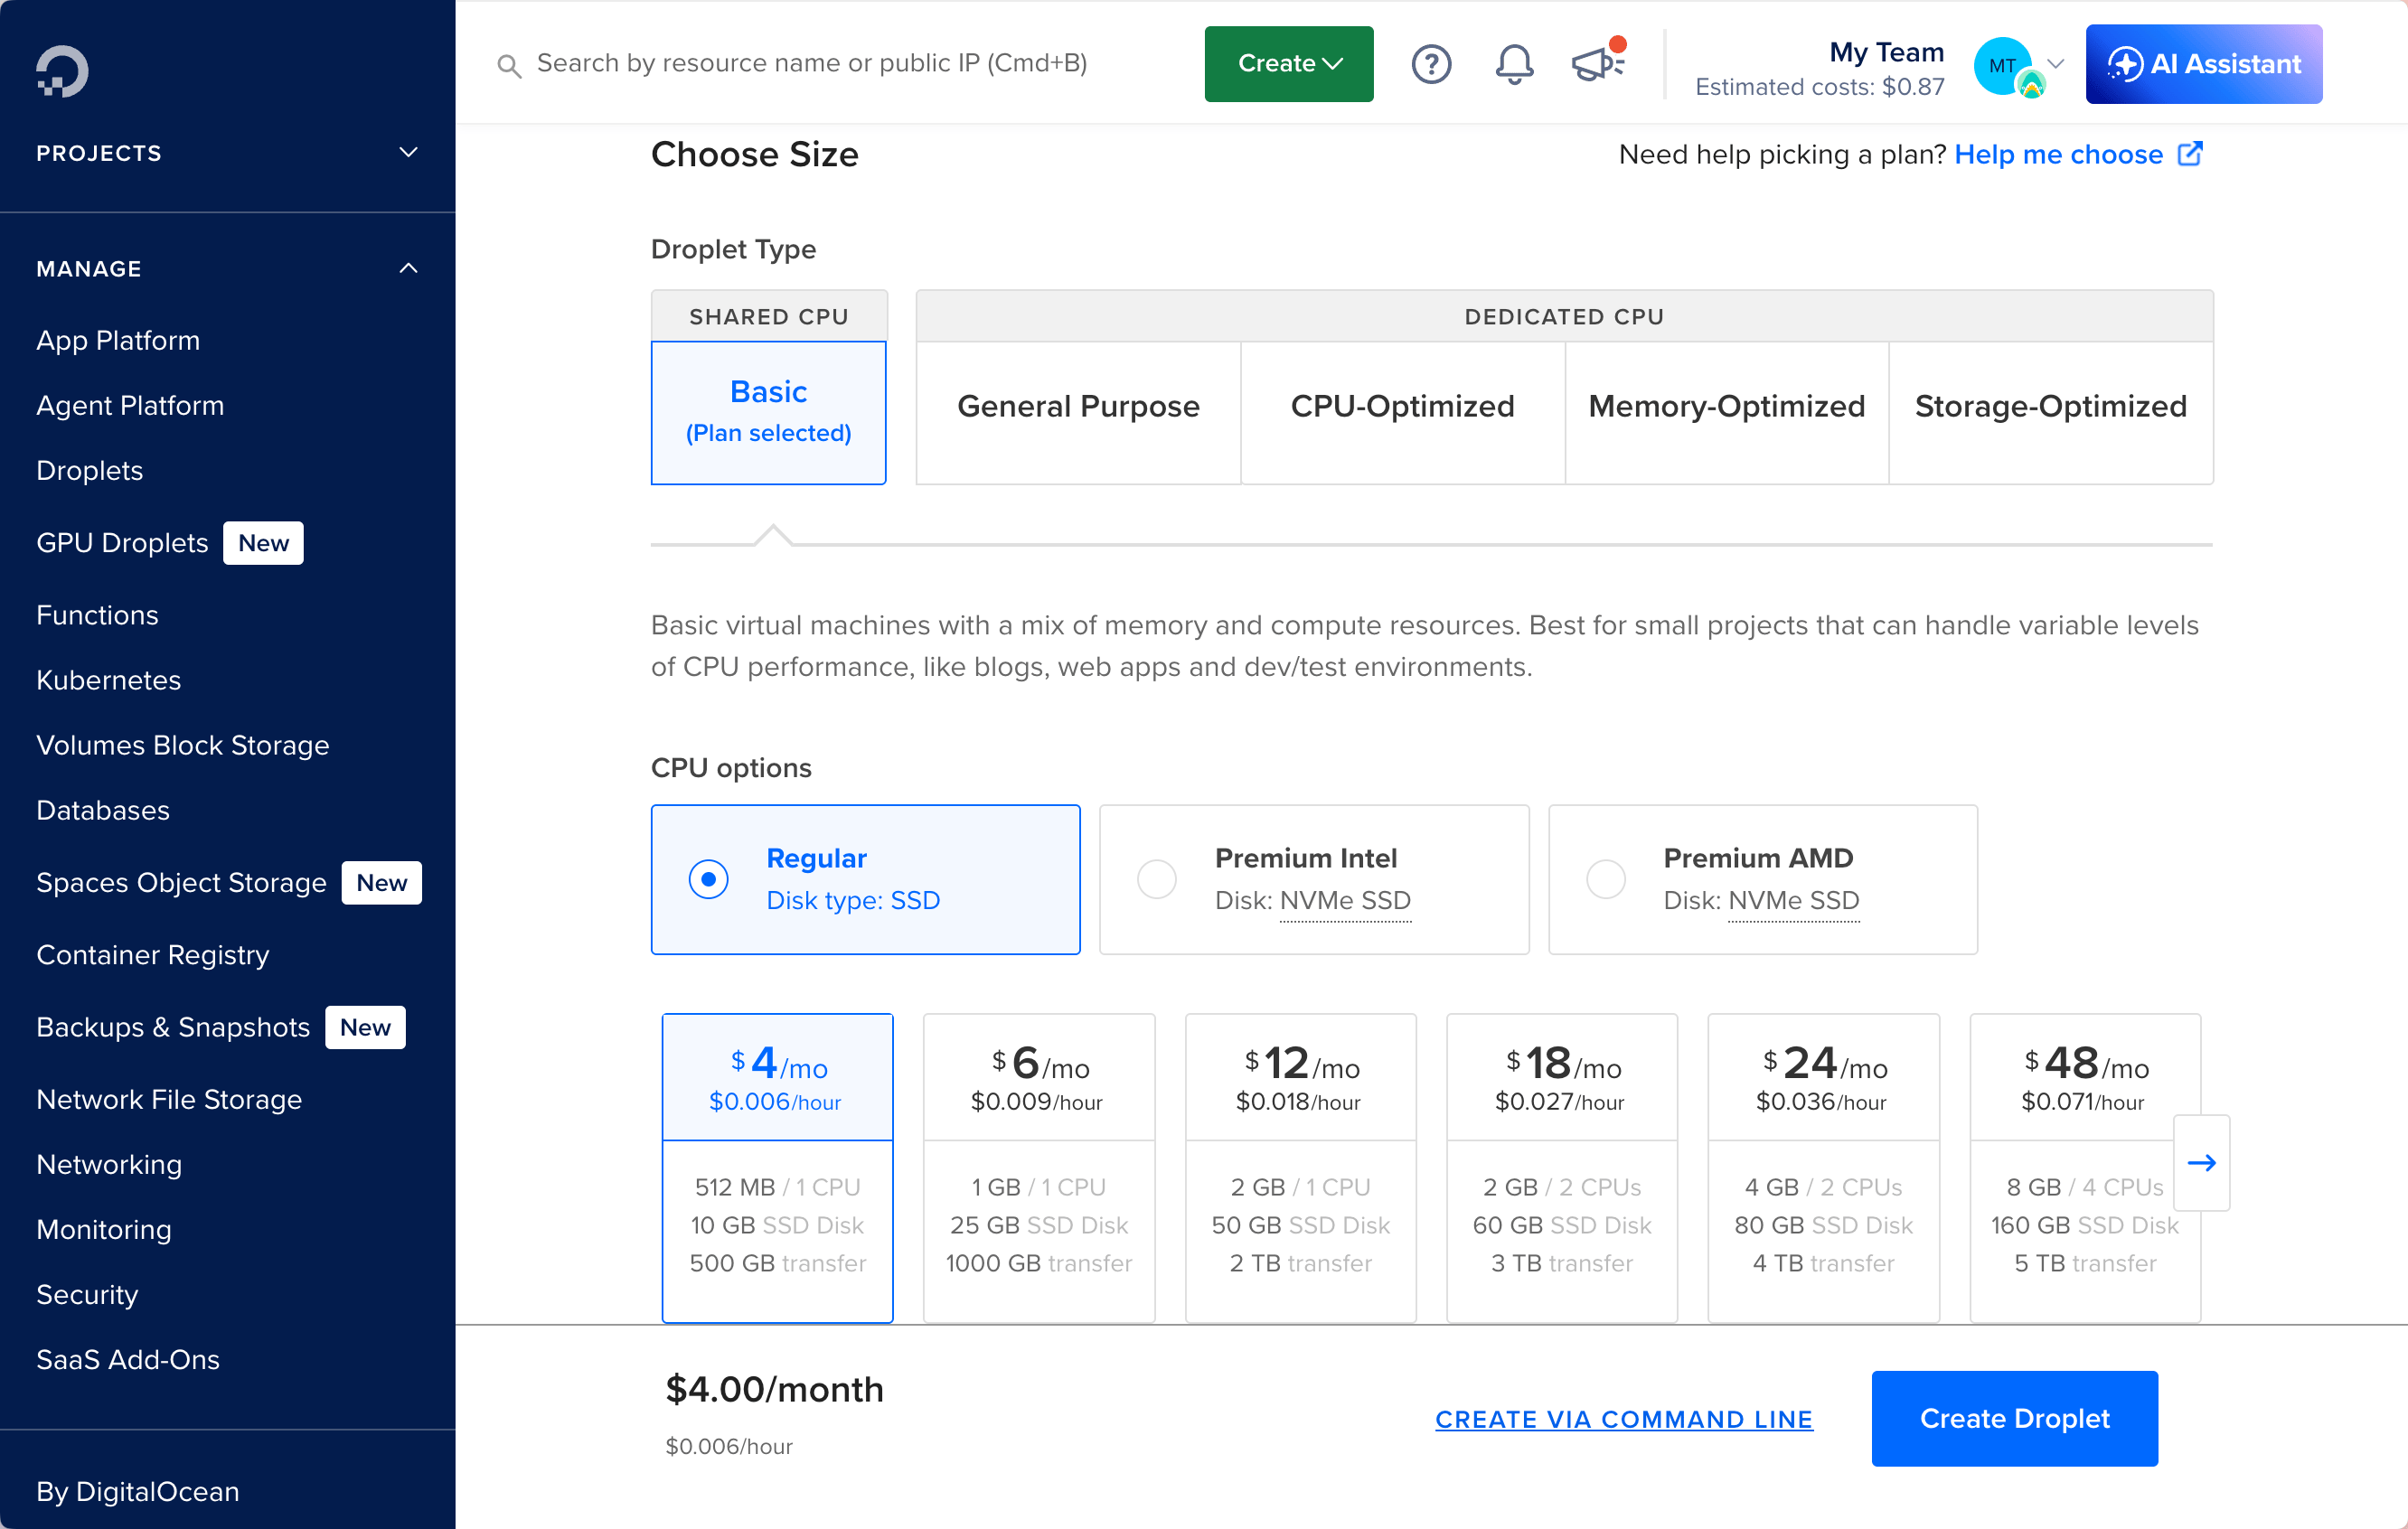
Basic plan with a Regular disk. This currently costs around $4/month and provides more than enough resources to run IronClaw for most use cases. droplets plan selection To connect to your Droplet, you need to set up an SSH key. You can generate a new SSH key pair on your local machine using the ssh-keygen command, then add the public key to your DigitalOcean account.
ssh-keygen -t rsa -b 4096
# Follow the prompts to save the key pair (e.g., id_rsa and id_rsa.pub)

# Read the contents of the public key
cat ~/.ssh/id_rsa.pub
You could also log in with a password, but using SSH keys is more secure and recommended. Make sure to keep your private key safe and do not share it with anyone.

Access Your Droplet

Once your Droplet is created, you can access it via SSH using the IP address provided by Digital Ocean. droplet IP Through your terminal, use SSH to connect as the 
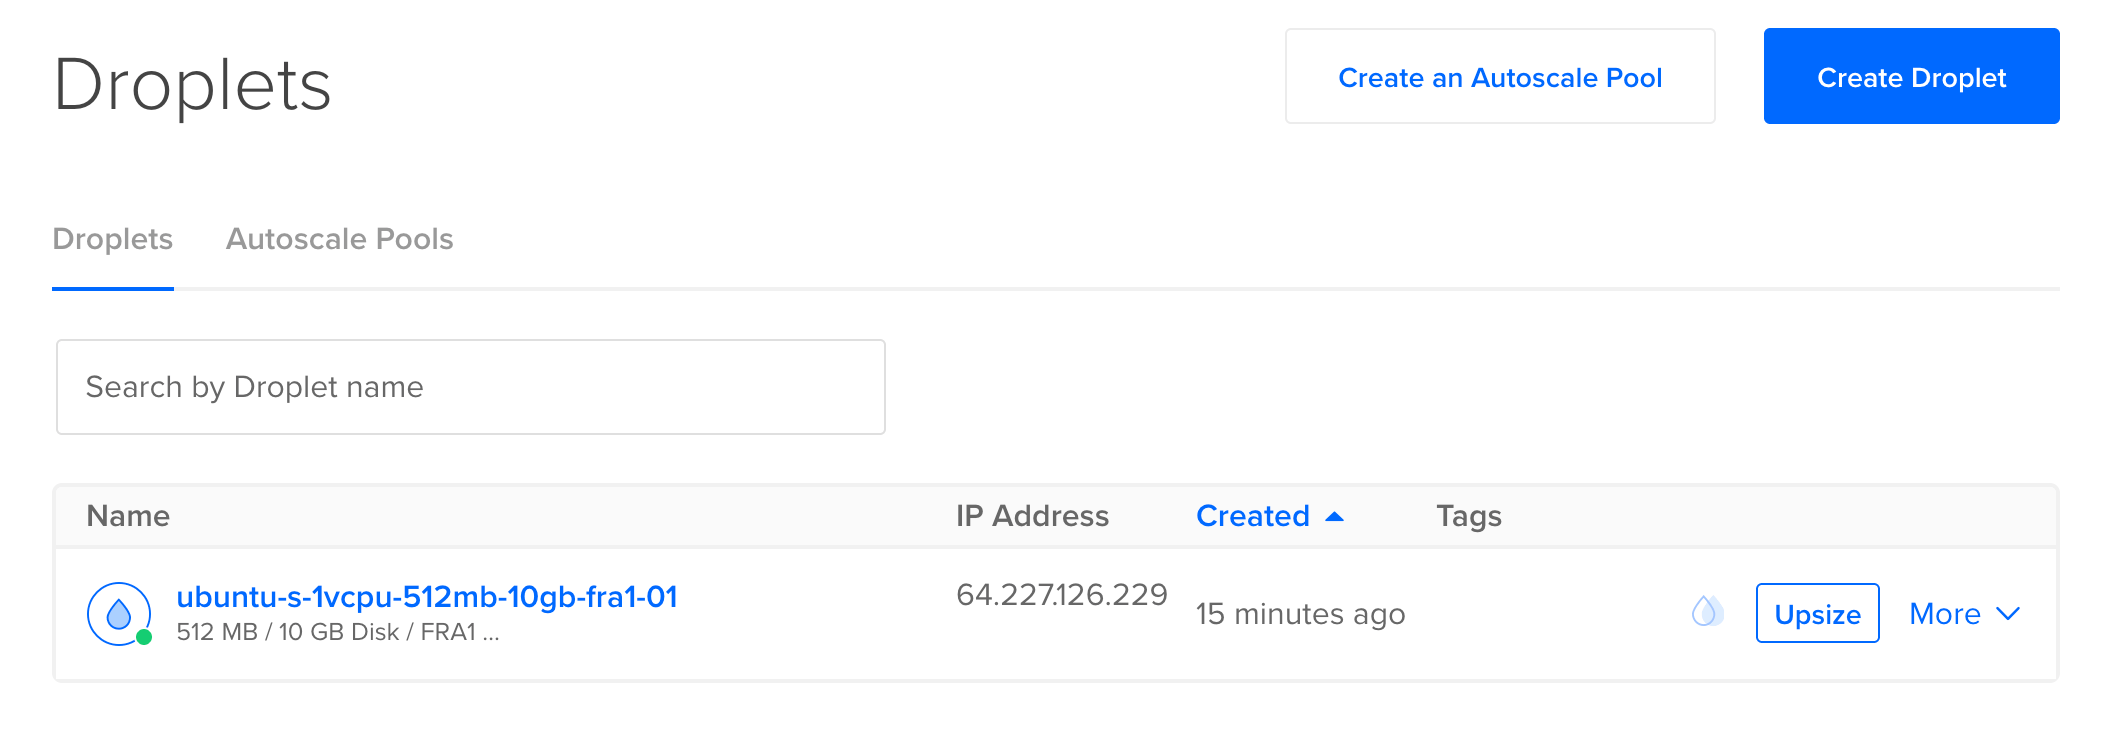
root user to your Droplet:
# Replace <IP_ADDRESS> with your Droplet's IP address
ssh root@<IP_ADDRESS>

Configure Your Droplet

Now that we are inside the Droplet, we need to perform some initial configuration. In particular, we do not want to leave root as the default user, and we want to strengthen Droplet security by setting a few firewall rules.

Update and Upgrade

First, let’s make sure the system is up to date:
apt update && apt upgrade -y

Create a New User

It is good practice to create a new user with sudo privileges instead of using root for daily operations. You can create a new user (for example, ironclaw) and add it to the sudo group:
adduser ironclaw
usermod -aG sudo ironclaw
Since we will want to log in with this new user, we need to copy the SSH keys from root to the new user:
# Create the .ssh directory for the user
mkdir -p /home/ironclaw/.ssh

# Copy your current root authorized_keys (if you want the same key)
cp ~/.ssh/authorized_keys /home/ironclaw/.ssh/authorized_keys

# Set the correct permissions (critical — SSH will ignore the file otherwise)
chown -R ironclaw:ironclaw /home/ironclaw/
chmod 700 /home/ironclaw/.ssh
chmod 600 /home/ironclaw/.ssh/authorized_keys
Open a new terminal window and try to log in with the new user to confirm everything is working:
ssh ironclaw@<IP_ADDRESS>
Do not move forward until you have confirmed that you can log in with the new user. If you lose access to root without having another user set up, you will need to completely reset your Droplet and start over.

Harden SSH Access

To enhance the security of your Droplet, it is recommended to disable password authentication and root login for SSH. You can do this by editing the SSH configuration file /etc/ssh/sshd_config and setting the following parameters:
PasswordAuthentication no   # Force key-based auth only
Port 2222                   # Change default port (optional but helps)
Then reboot the Droplet to apply the changes, and try to log in again using the new port:
ssh -p 2222 ironclaw@<IP_ADDRESS>
If everything works, you can now disable root login by setting PermitRootLogin no in the SSH configuration and rebooting again.

Install Fail2Ban

To further enhance Droplet security, install Fail2Ban. It helps protect against brute-force attacks by monitoring log files and banning IP addresses that show malicious behavior.
apt install fail2ban -y
systemctl enable fail2ban
systemctl start fail2ban

Setup Firewall

It is also a good idea to set up a firewall to restrict access to only the necessary ports. You can use ufw (Uncomplicated Firewall) for this purpose:
sudo apt install ufw -y
sudo ufw default deny incoming
sudo ufw default allow outgoing
sudo ufw allow 2222/tcp   # Allow SSH on the new port
sudo ufw allow 80/tcp     # Allow HTTP (if needed)
sudo ufw allow 443/tcp    # Allow HTTPS (if needed)
sudo ufw enable

Install IronClaw

Now that we have set up and secured the Droplet, we can proceed with the IronClaw installation. You can follow the installation instructions in the Quickstart Guide to get IronClaw up and running.
# Install IronClaw
curl --proto '=https' --tlsv1.2 -LsSf https://github.com/nearai/ironclaw/releases/latest/download/ironclaw-installer.sh | sh
Now simply start IronClaw and follow the instructions to complete the setup:
ironclaw
We recommend using a session manager like tmux or screen so you can easily detach and reattach to your running IronClaw instance between SSH sessions.

Next Steps

Follow our Quickstart Guide to create your first agent, connect it to Telegram, and start exploring IronClaw’s capabilities. Want to talk with your agent using a messaging app? Check out the Channels documentation to learn how to connect. Need your agent to perform complex tasks that require multiple tools? Check out the Extensions documentation.