Create an EC2 Instance
Sign in to the AWS Management Console and navigate to EC2 → Instances → Launch Instances.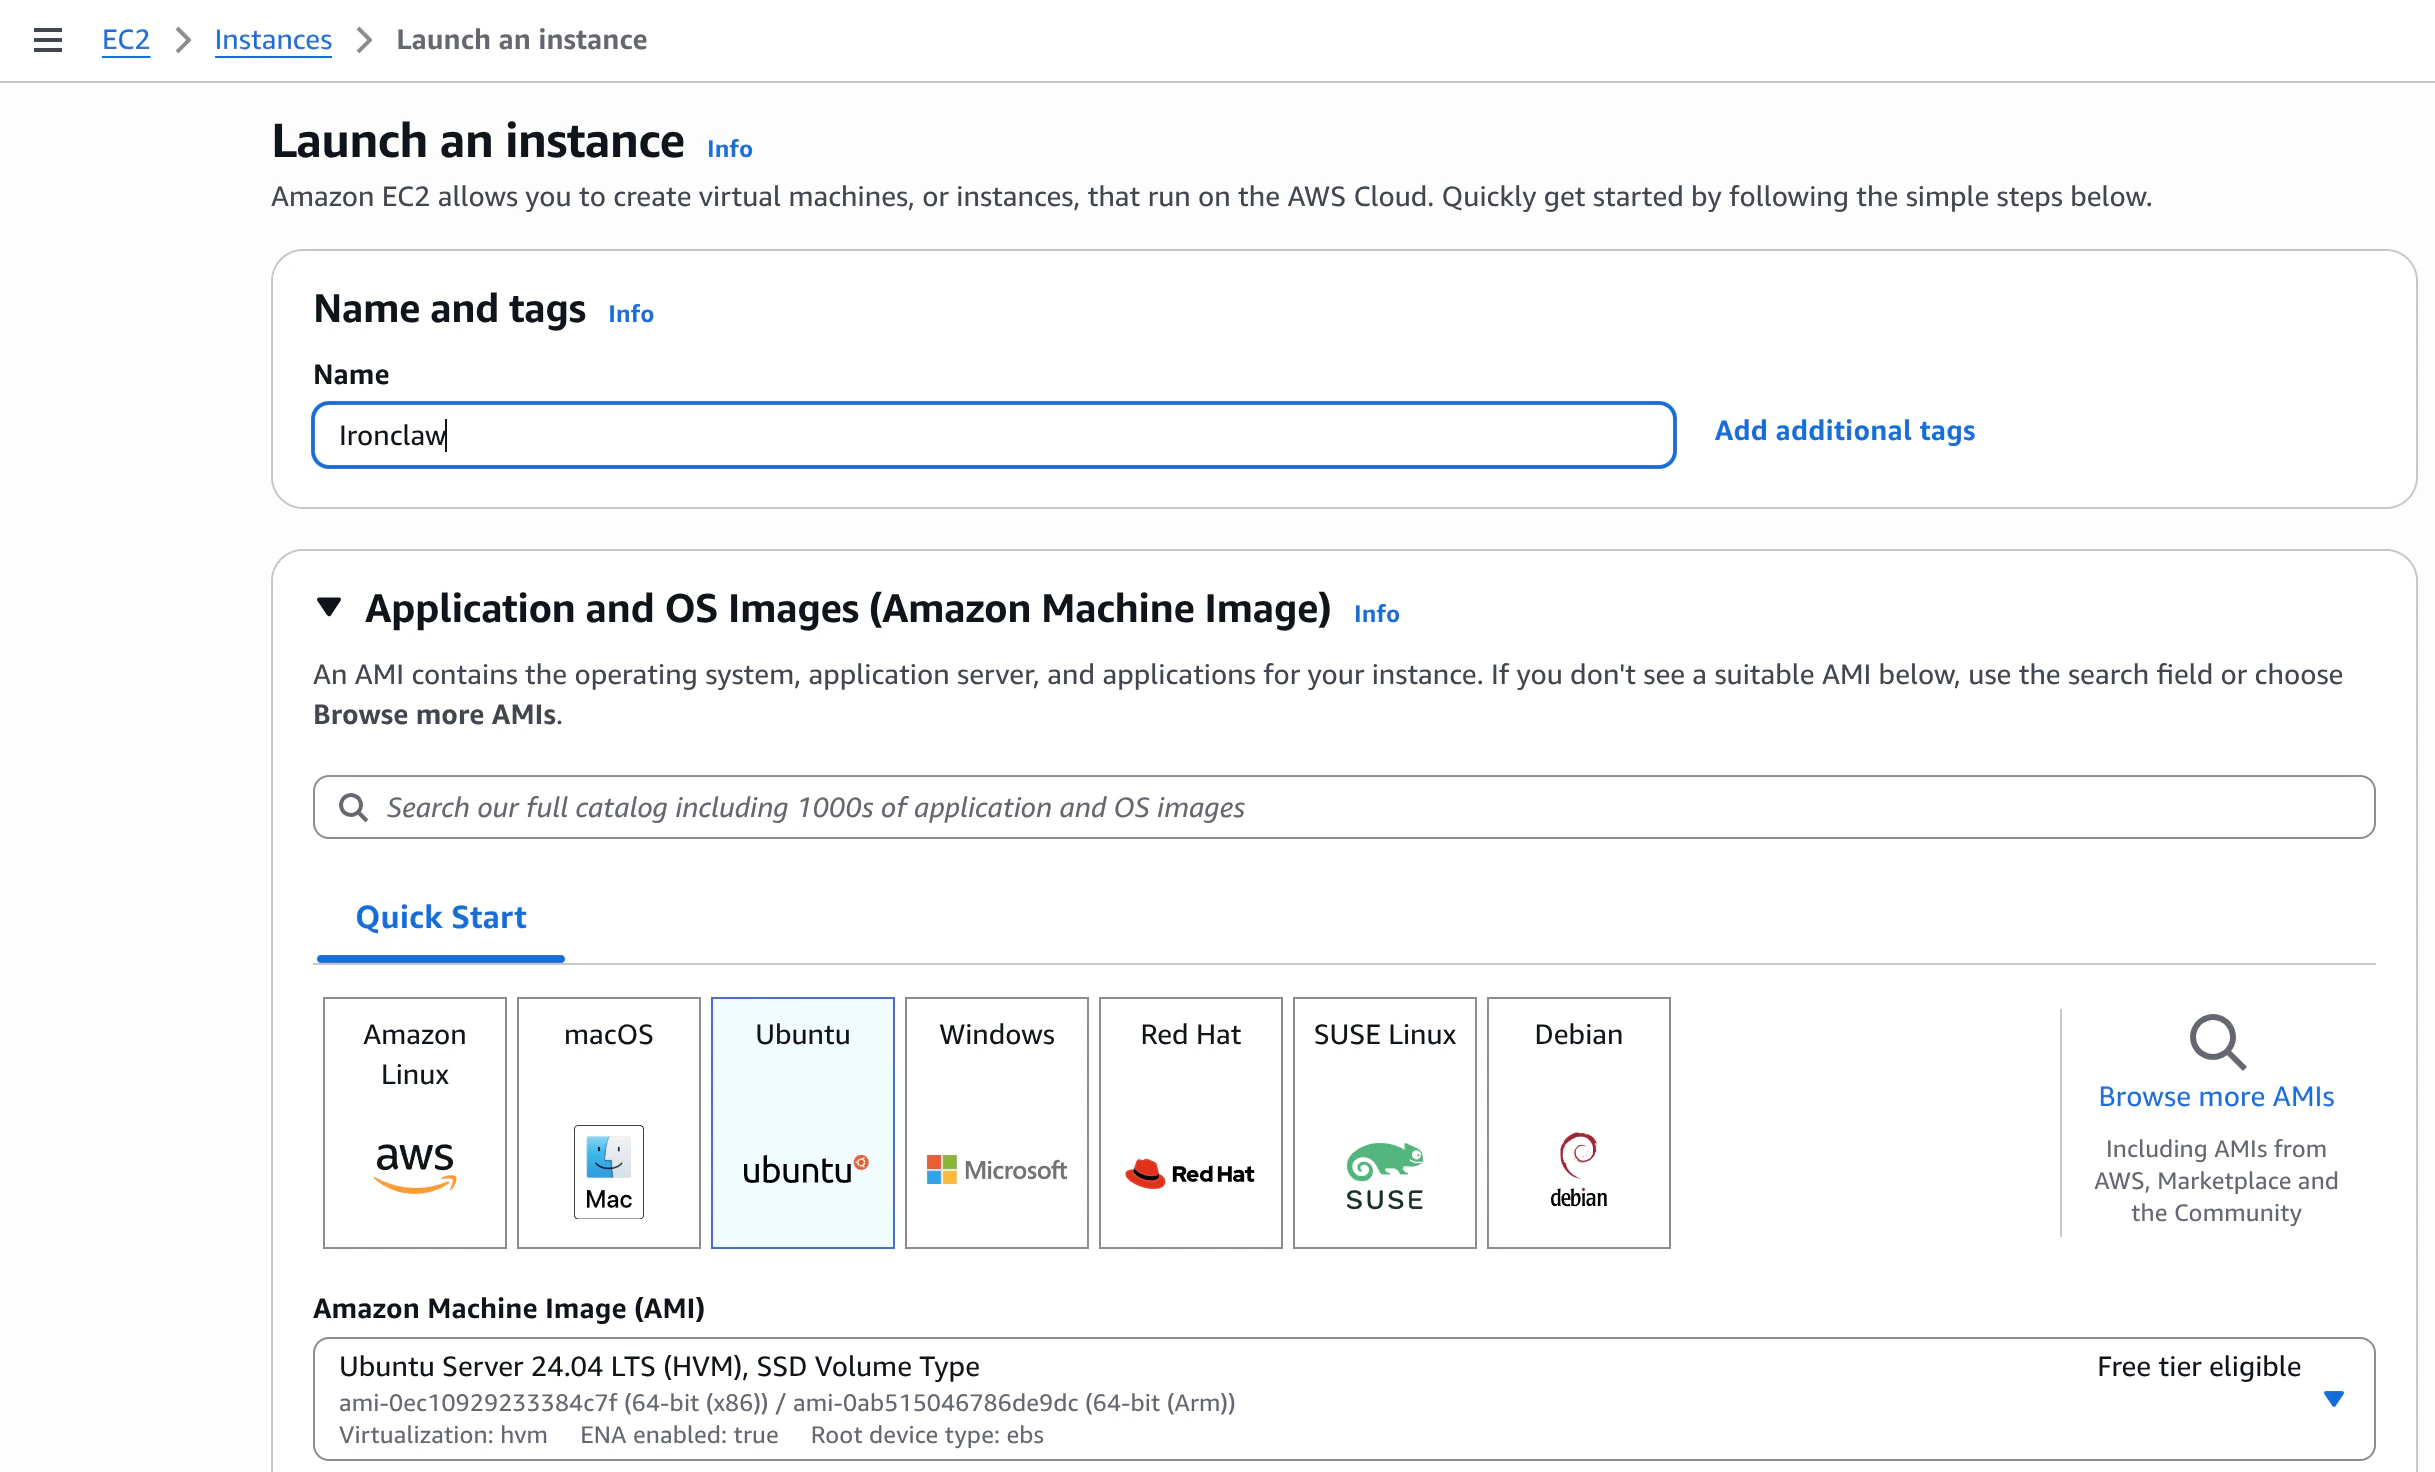
- Name: choose a descriptive name (e.g.
ironclaw) - AMI: Ubuntu Server 24.04 LTS (free tier eligible)
- Instance type:
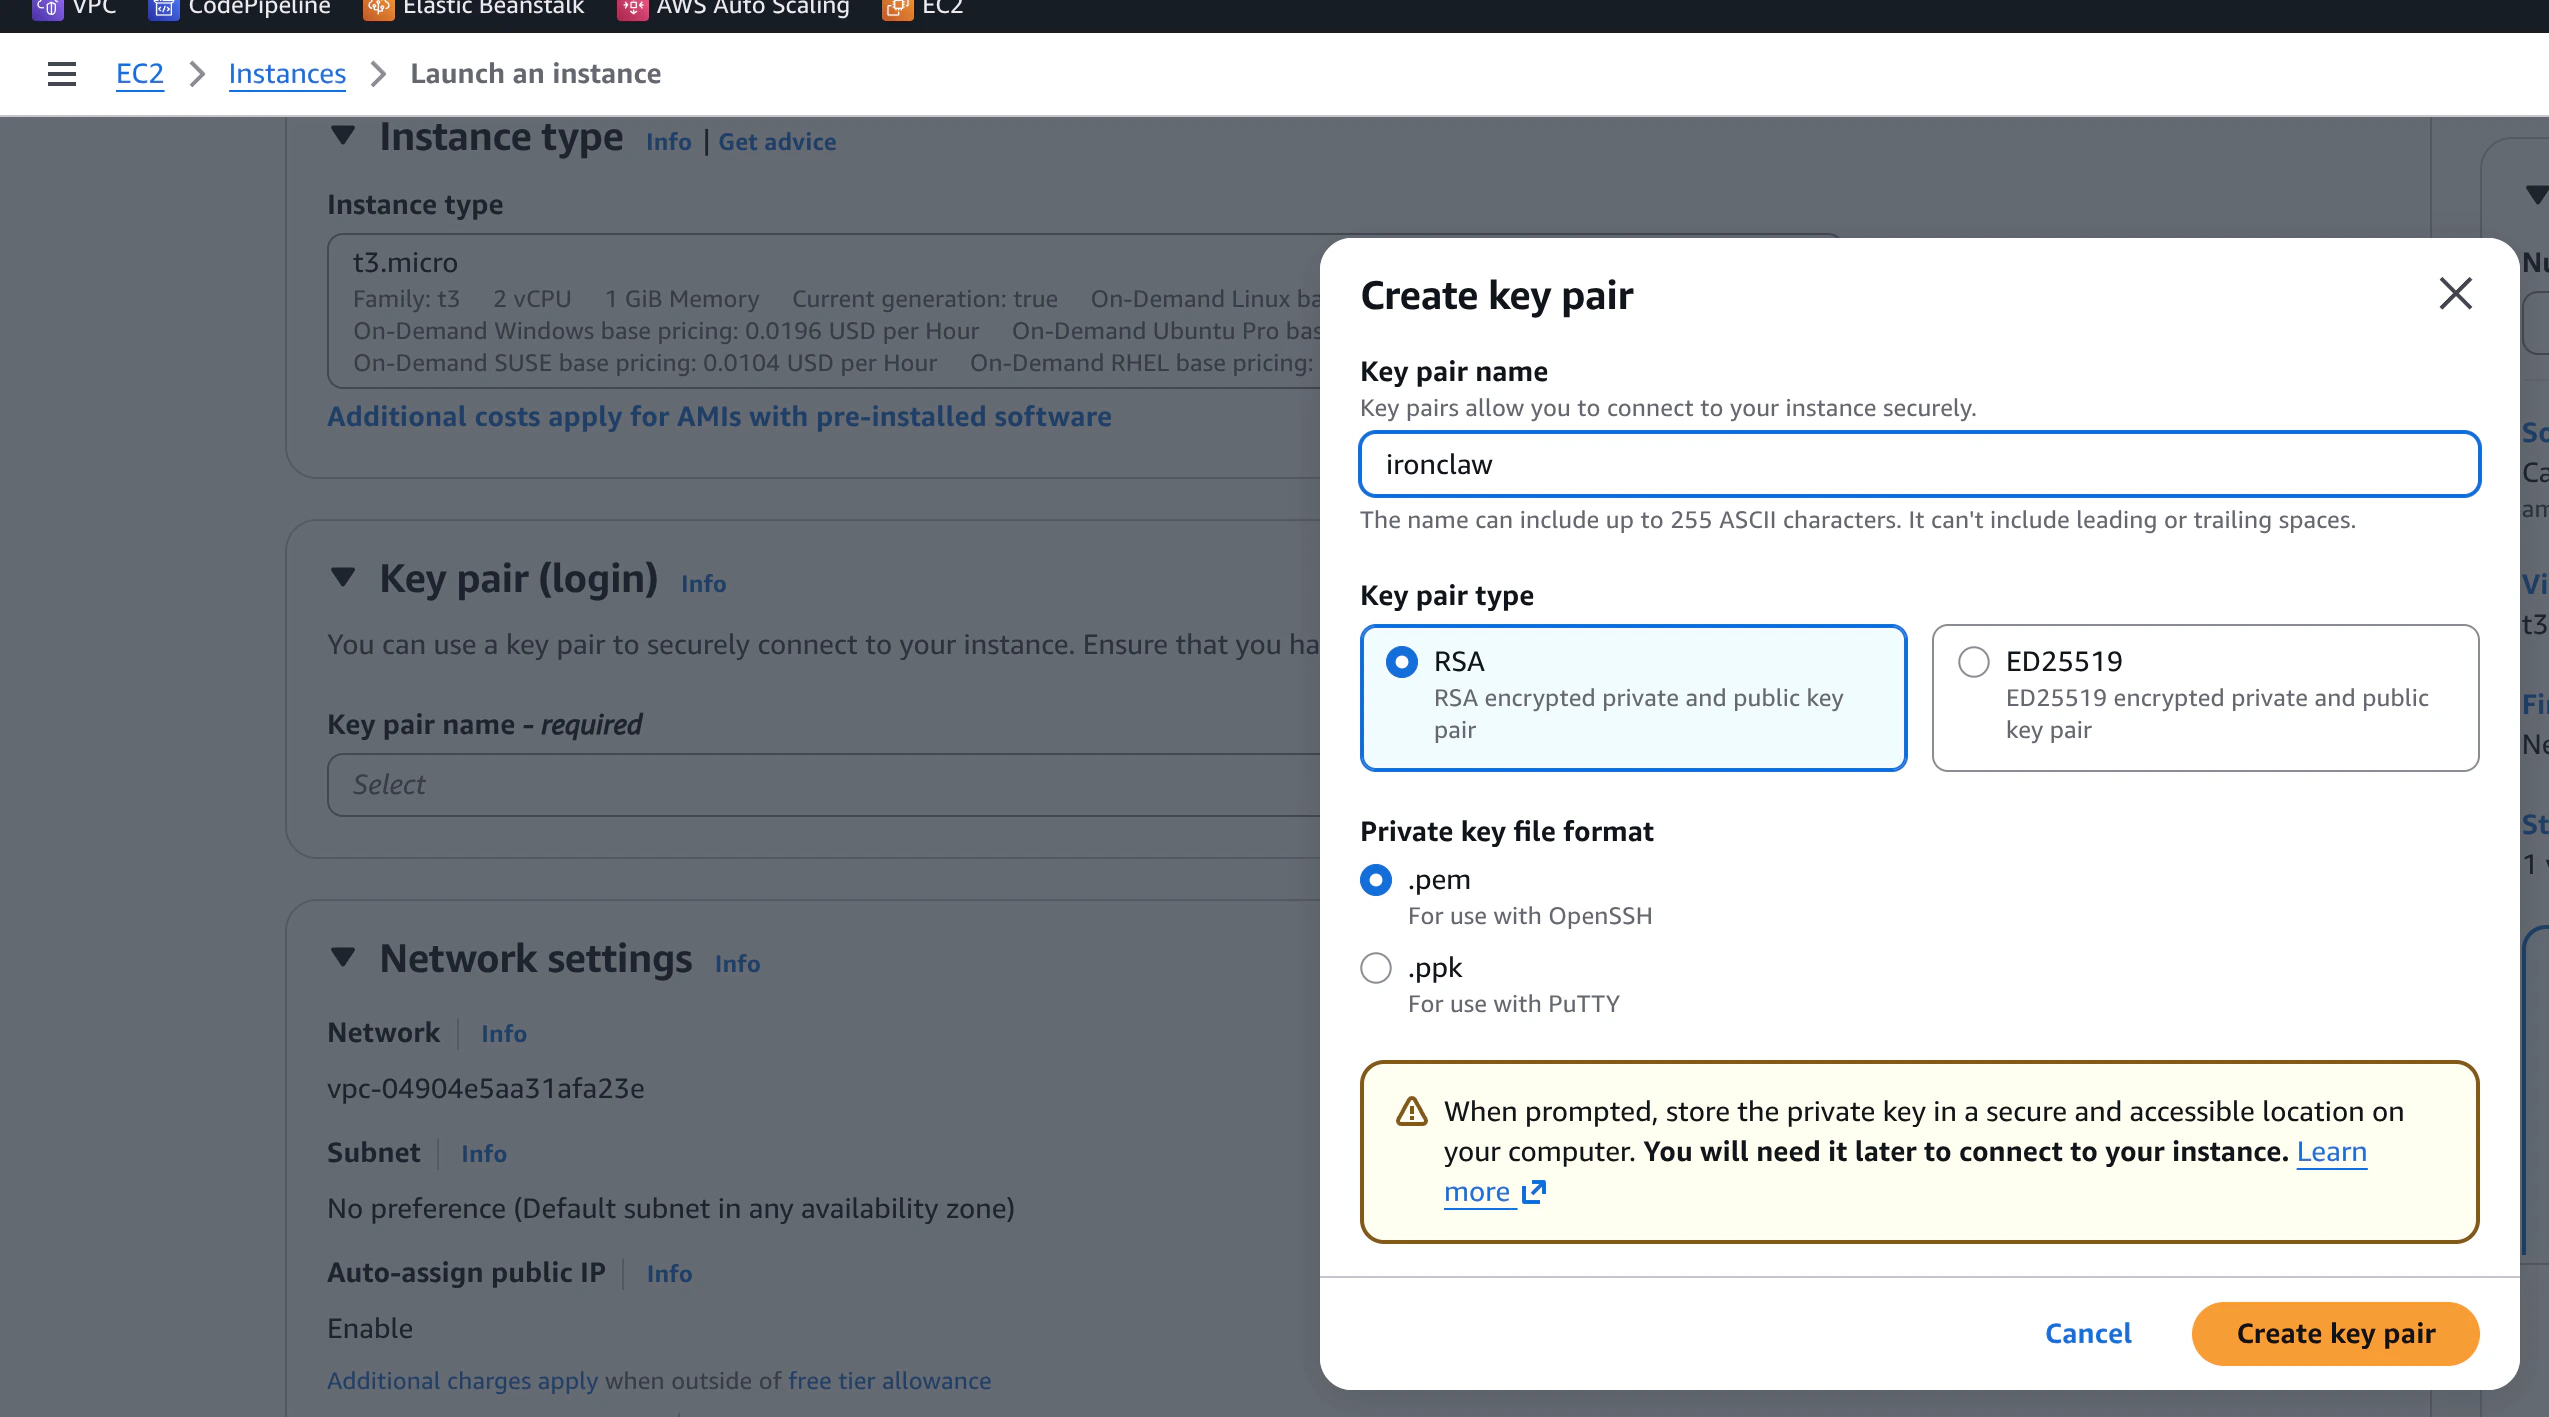
t2.microort3.micro(free tier eligible) — sufficient for most use cases - Key pair: click Create new key pair, give it a name, choose RSA and
.pemformat, then download the file. Keep it in a safe place — you will not be able to download it again.
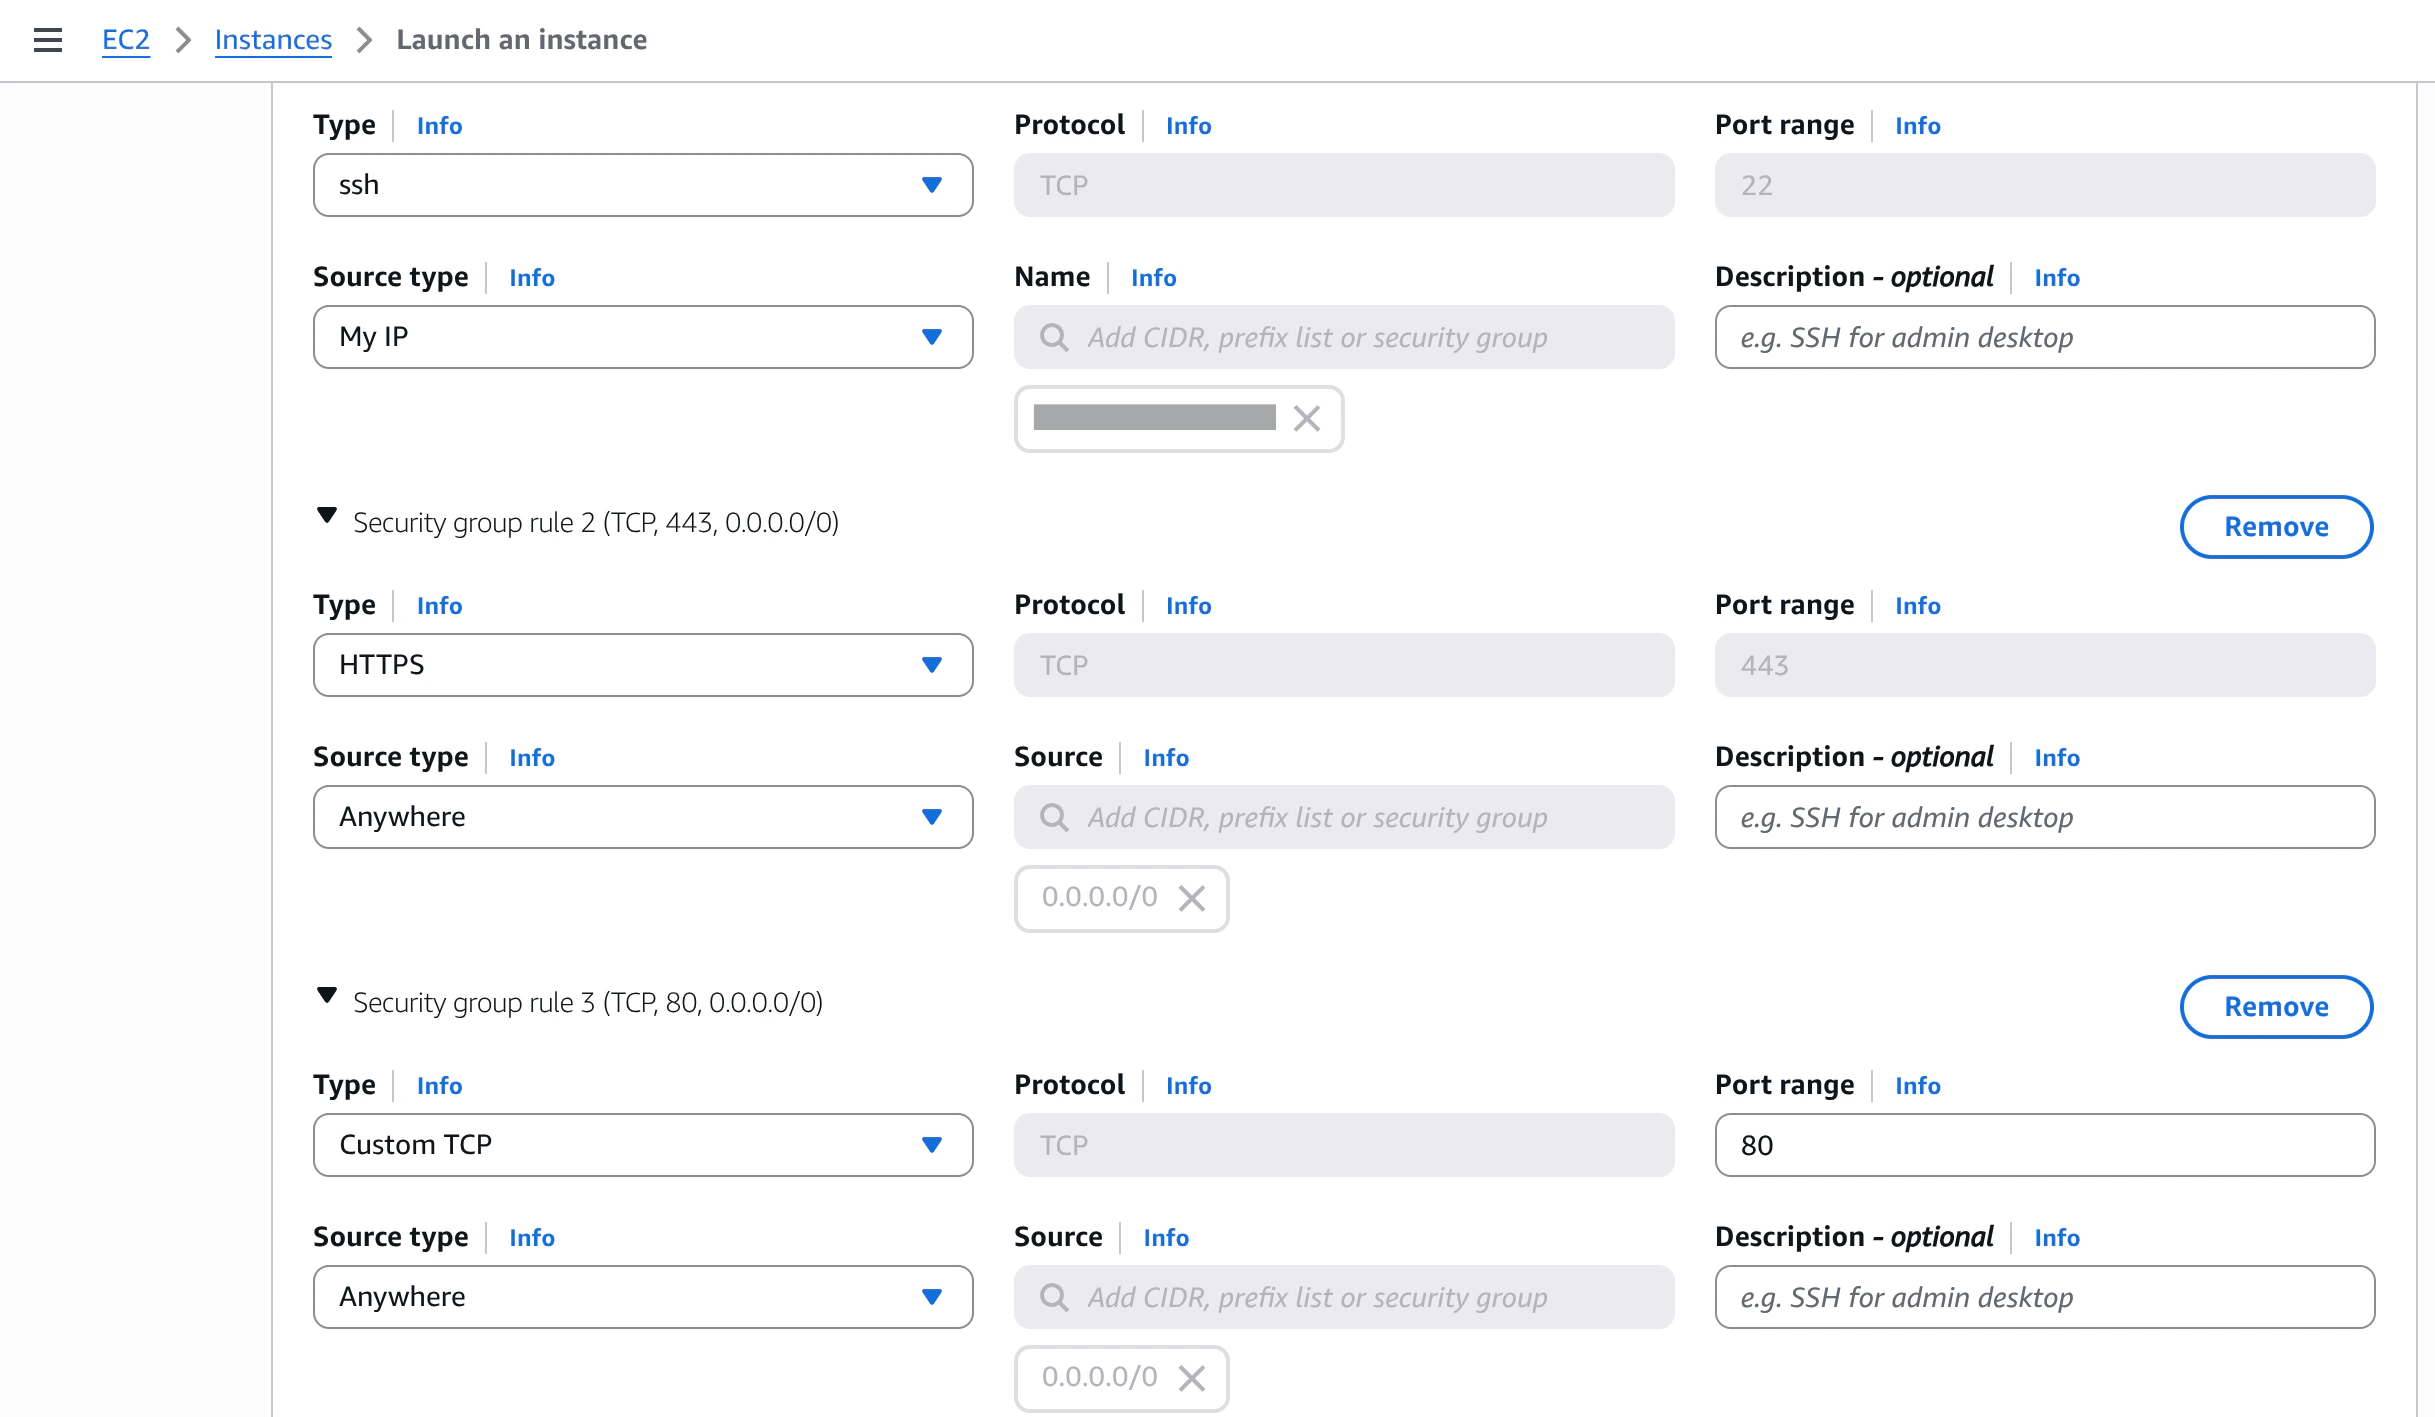
Restricting SSH to My IP is strongly recommended. It prevents brute-force attacks from the open internet. You can update this rule later if your IP changes.
Access Your Instance
Once the instance is running, find its Public IPv4 address in the Instances list.
.pem key you downloaded:
The default username for Ubuntu AMIs is
ubuntu. For Amazon Linux AMIs it would be ec2-user.Root Access
Unlike DigitalOcean Droplets, EC2 Ubuntu instances do not let you log in directly asroot. Instead, the ubuntu user has passwordless sudo privileges. All privileged commands in this guide are prefixed with sudo so you can run them directly without switching users.
Configure Your Instance
Now that we are inside the instance, we need to perform some initial configuration. We want to strengthen security by setting up a dedicated user and preparing the system for running IronClaw.Update and Upgrade
First, make sure the system is up to date:Create a New User
It is good practice to create a dedicated user with sudo privileges instead of usingubuntu for all operations. You can create a new user (for example, ironclaw) and add it to the sudo group:
ubuntu to the new user so you can log in with the same key pair:
EC2 Security Groups already act as a network-level firewall. As long as your inbound rules are configured as shown above, no additional firewall configuration is needed on the instance itself.