If you haven’t set up your agent yet, follow our Quickstart guide
Set up the Discord channel
1
Create a new application
In order to create a new Discord application, navigate to the Developer Portal.
1
New Application
Click on the “New Application” button, give it a name (e.g. IronClaw), and click “Create”.
2
Get your bot token
Navigate to the “Bot” tab on the left sidebar, under the “Token” section click on “Reset Token” and copy the token that is generated. You will need this token to connect your Discord application to IronClaw.
2
Configure the Discord channel in IronClaw
Invoke the IronClaw CLI onboard wizard using the
--channels-only flag to configure only the channels without going through the entire onboarding process again:1
Config the Tunnel
If you have not setup a 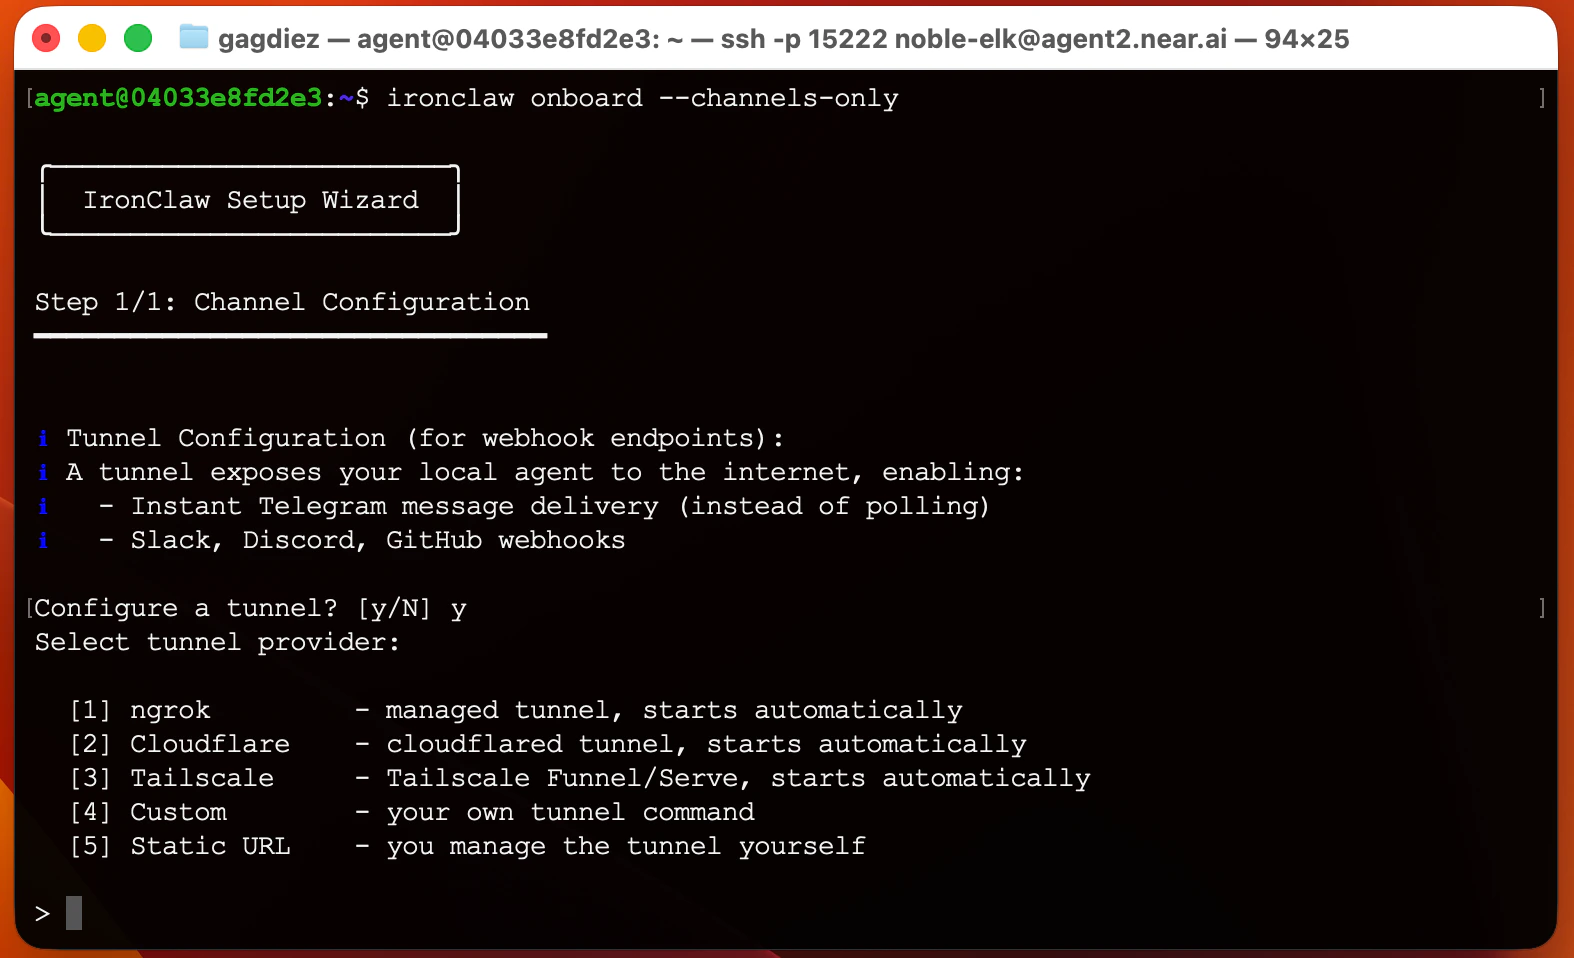
Tunnel yet, the wizard will ask you to choose a tunnel provider and set it up. We recommend using ngrok for its ease of use and reliability.2
Install the Discord channel
Select the Discord channel from the list of available channels to install it.
3
Add your bot token
Enter the bot token from the
"Bot" tab in the Discord Developer Portal, and the public key from the "General Information" tab.3
Start IronClaw
Start the
ironclaw agent:4
Add the bot to your Discord server
Discord does not allow to message bots directly, so you will first need to add it to a server you are part of, and then you can DM the bot from there.Generate an invite URL in the “OAuth” section of the Discord Developer Portal with the following
scopes enabled:- bot
- applications.commands
Bot Permissions:- View Channels
- Send Messages
- Read Message History
- Add Reactions
5
Enable mentions in group chats
In order to be able to trigger the bot in group chats, you need to edit the
.ironclaw/channels/discord.capabilities.json file and add the channel ID of the channel where you want the bot to be active to the mention_channel_ids list.6
Direct Messaging
Now that you share a server with the bot, you can send it a direct message. Click on its name in the member list and send them a direct message. The bot will reply with a pairing command that you need to execute in the terminal to complete the pairing process and start chatting with your agent.